> ## Documentation Index
> Fetch the complete documentation index at: https://docs.weventures.ai/llms.txt
> Use this file to discover all available pages before exploring further.
# VS Code & AI Tools Setup
> Install VS Code, Claude Code, and Codex for AI-powered development
This guide will walk you through setting up your development environment with Visual Studio Code and our primary AI coding assistants: Claude Code and Codex.
## Install Visual Studio Code
 Visit [code.visualstudio.com/Download](https://code.visualstudio.com/Download) and download the appropriate version for your operating system:
* **macOS**: Download `.dmg` for Apple Silicon (M1/M2/M3) or Intel
* **Windows**: Download User or System installer
* **Linux**: Choose `.deb` (Debian/Ubuntu) or `.rpm` (Fedora/RHEL)
**macOS:**
1. Open the downloaded `.dmg` file
2. Drag VS Code to the Applications folder
3. Launch VS Code from Applications
**Windows:**
1. Run the downloaded installer
2. Follow the installation wizard
3. Check "Add to PATH" during installation (important!)
4. Launch VS Code from Start menu
**Linux:**
```bash theme={null}
# Debian/Ubuntu
sudo dpkg -i code_*.deb
sudo apt-get install -f
# Fedora/RHEL
sudo rpm -i code-*.rpm
```
Open a terminal and run:
```bash theme={null}
code --version
```
You should see the VS Code version number.
***
## Claude Code Setup
Visit [code.visualstudio.com/Download](https://code.visualstudio.com/Download) and download the appropriate version for your operating system:
* **macOS**: Download `.dmg` for Apple Silicon (M1/M2/M3) or Intel
* **Windows**: Download User or System installer
* **Linux**: Choose `.deb` (Debian/Ubuntu) or `.rpm` (Fedora/RHEL)
**macOS:**
1. Open the downloaded `.dmg` file
2. Drag VS Code to the Applications folder
3. Launch VS Code from Applications
**Windows:**
1. Run the downloaded installer
2. Follow the installation wizard
3. Check "Add to PATH" during installation (important!)
4. Launch VS Code from Start menu
**Linux:**
```bash theme={null}
# Debian/Ubuntu
sudo dpkg -i code_*.deb
sudo apt-get install -f
# Fedora/RHEL
sudo rpm -i code-*.rpm
```
Open a terminal and run:
```bash theme={null}
code --version
```
You should see the VS Code version number.
***
## Claude Code Setup
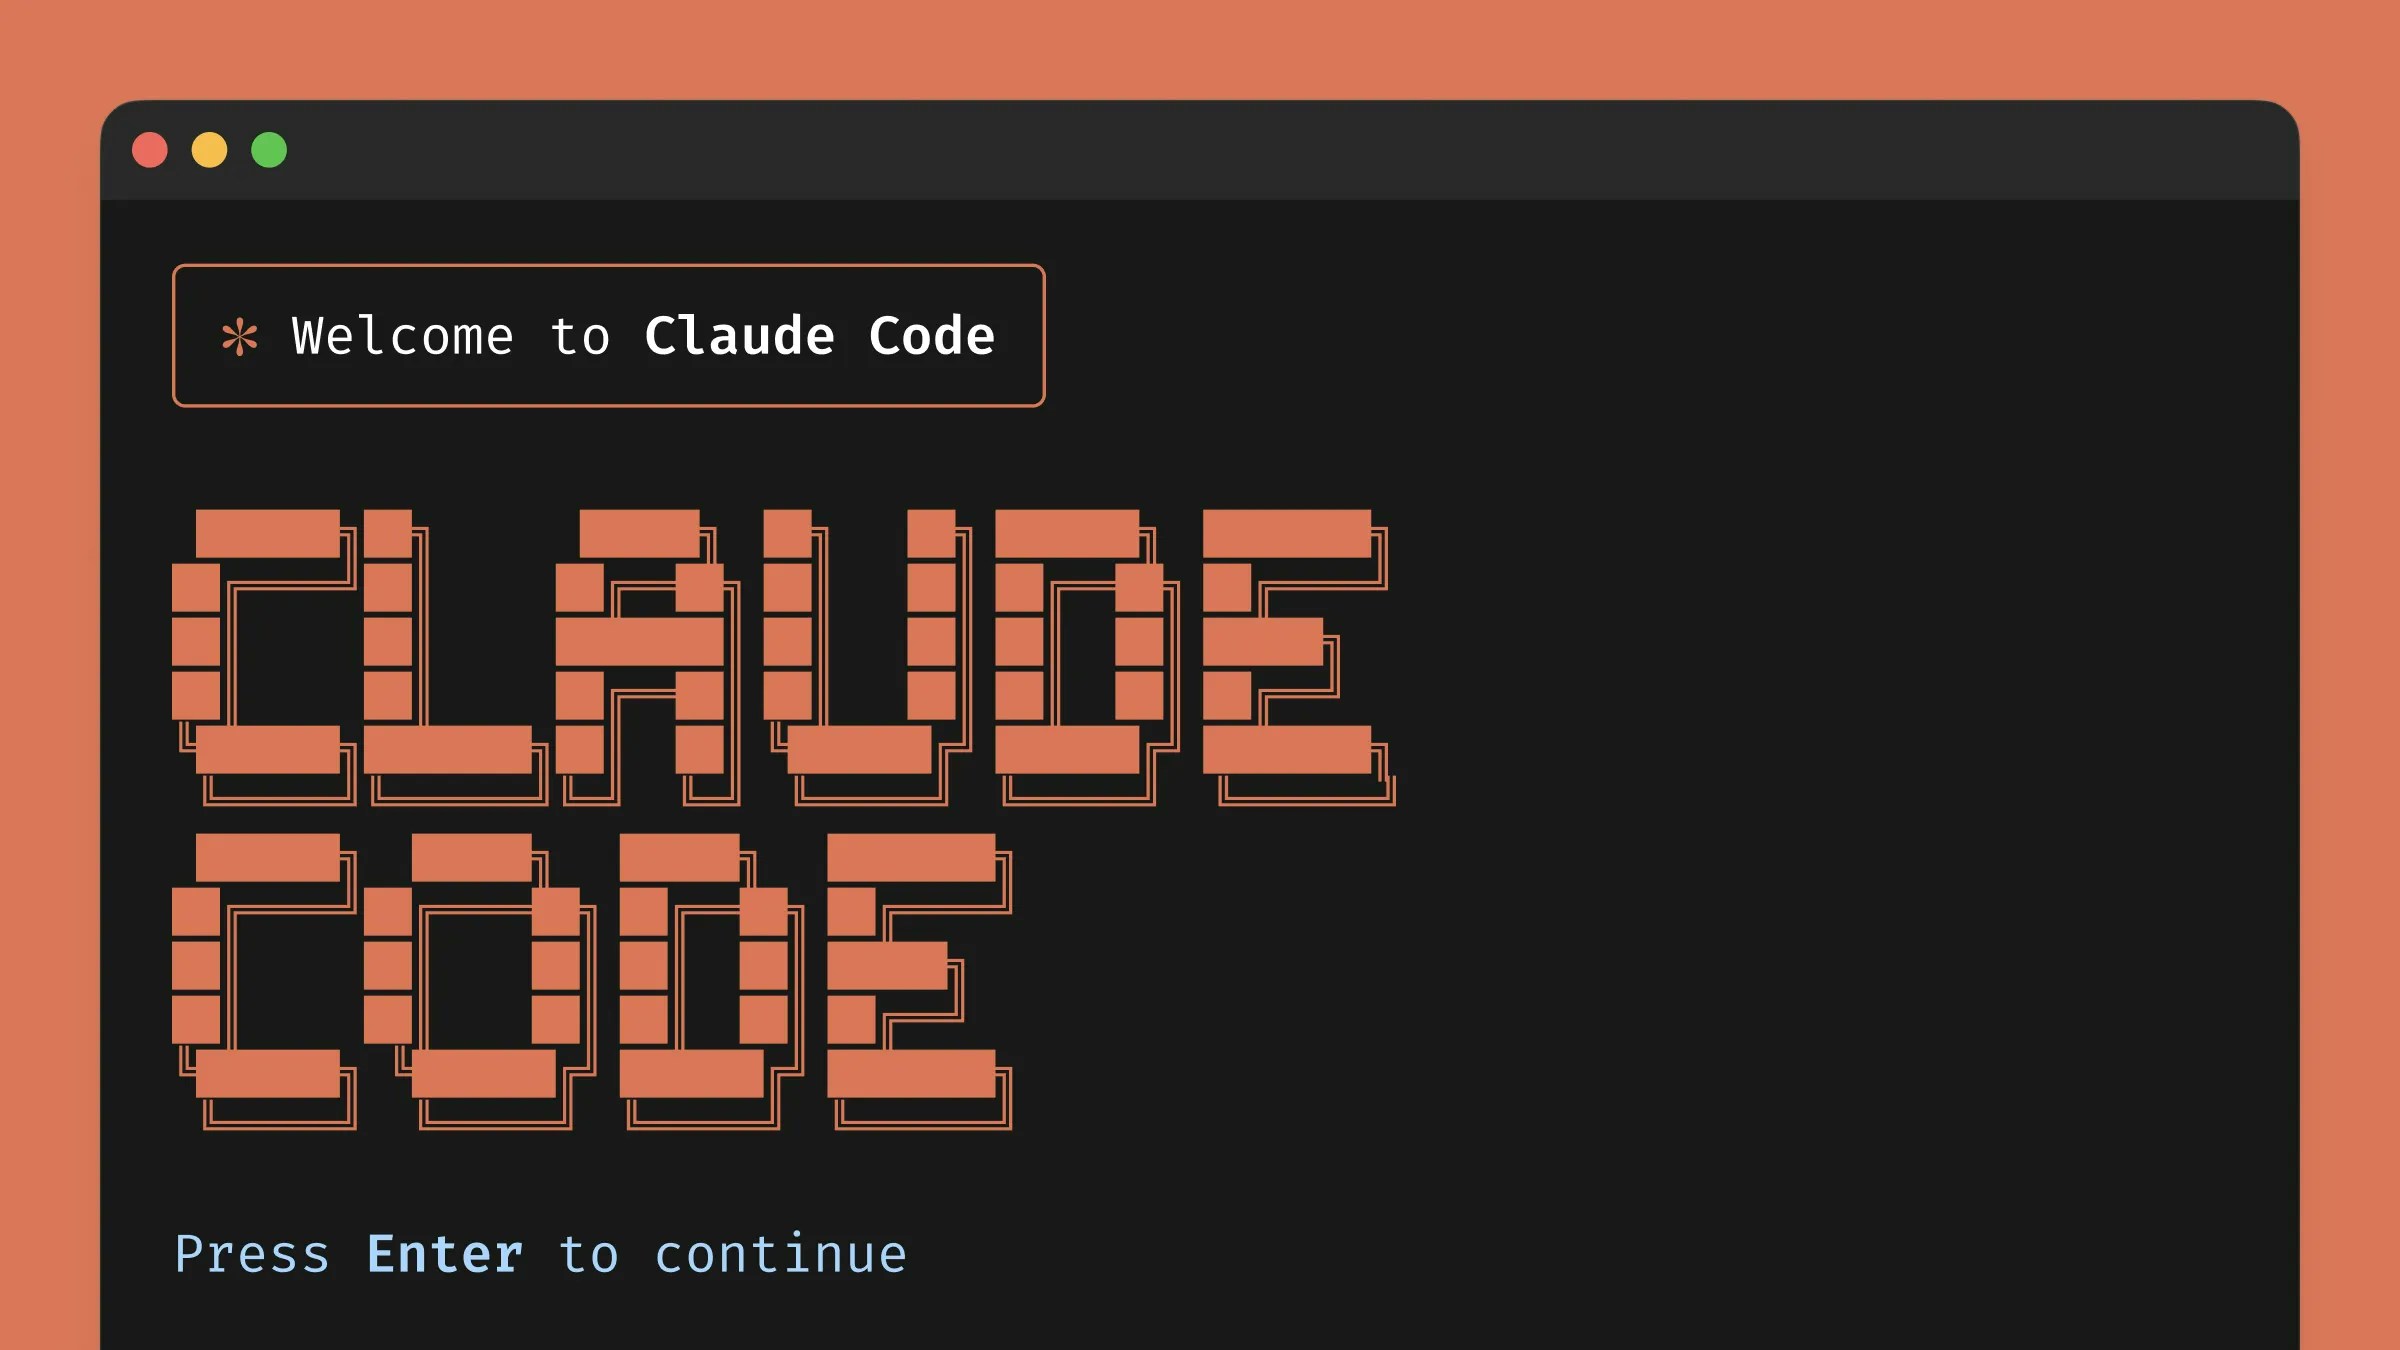 Claude Code is Anthropic's AI coding assistant that works in your terminal and VS Code, helping you build faster with natural language.
### Install Claude Code Extension
1. Open VS Code
2. Click the Extensions icon in the sidebar (or press `Cmd+Shift+X` / `Ctrl+Shift+X`)
3. Search for **"Claude Code"**
1. Find the extension published by **Anthropic** (official)
2. Click **Install**
3. Wait for installation to complete
4. A new ⚡ (Spark) icon will appear in your sidebar
1. Click the ⚡ Spark icon to open Claude Code panel
2. Click **"Sign in with Claude"**
3. Your browser will open for authentication
4. Sign in with your Claude account (Pro, Max, Team, or Enterprise)
5. Return to VS Code - you're ready to code!
### Requirements
**Prerequisites:**
* VS Code version 1.98.0 or newer
* Claude Pro, Max, Team, or Enterprise subscription
* Internet connection for authentication
### Quick Start
Once installed:
1. Open any project folder in VS Code
2. Click the ⚡ Spark icon in the sidebar
3. Type your coding request in natural language
4. Watch Claude Code edit your files in real-time
5. Press `Esc` twice to rewind changes if needed
### Key Features
* **Real-time change visualization** - See edits inline with diffs
* **Checkpoint system** - Auto-saves state before changes
* **Natural language coding** - Describe what you want, Claude builds it
* **Git integration** - Handles commits, branches, and workflows
### Install Claude Code CLI
```bash theme={null}
npm install -g @anthropic-ai/claude-code
```
**Alternative (if npm fails):**
```bash theme={null}
# Using pnpm
pnpm add -g @anthropic-ai/claude-code
# Using yarn
yarn global add @anthropic-ai/claude-code
```
```bash theme={null}
claude --version
```
You should see the Claude Code version number.
Navigate to your project and run:
```bash theme={null}
cd your-project
claude
```
A setup wizard will guide you through:
1. **Sign-in method selection** - Choose "Claude app" (Max subscription) or "Anthropic console" (API billing)
2. **Browser authentication** - Sign in with your Claude credentials
3. **Model selection** - Choose Claude Sonnet 4 or Opus 4
For VS Code integration from terminal:
```bash theme={null}
# Navigate to your project
cd your-awesome-project
# Start Claude Code with VS Code integration
claude
```
Claude will detect VS Code and offer enhanced features like inline diffs.
### Usage Examples
```bash Basic Commands theme={null}
# Start Claude Code
claude
# Specific task
claude "add user authentication to my app"
# Git workflow
claude "review my changes and create a PR"
```
```bash Advanced Commands theme={null}
# Explain code
claude explain app/page.tsx
# Fix bugs
claude "fix the authentication bug in login.ts"
# Refactor
claude "refactor the user model to use TypeScript"
```
### Configuration
Claude Code stores preferences in `~/.claude/config.toml`:
```toml theme={null}
# Example configuration
[preferences]
model = "claude-sonnet-4"
auto_commit = false
diff_style = "unified"
[mcp_servers]
# Add MCP servers here
```
### Troubleshooting Claude Code
**Common with WSL users:**
1. Navigate to your project inside WSL:
```bash theme={null}
cd /path/to/your/project
```
2. Open VS Code from WSL:
```bash theme={null}
code .
```
3. Run Claude Code in the integrated terminal
**Permission issues:**
1. Download the `.vsix` file from [VS Code Marketplace](https://marketplace.visualstudio.com/items?itemName=anthropic.claude-code)
2. In VS Code: View → Extensions
3. Click `...` menu → "Install from VSIX..."
4. Select the downloaded file
**Make sure it's official:**
* Publisher must be **"Anthropic"**
* Avoid knock-off extensions
* Uninstall unofficial versions first
***
## Codex Setup
Claude Code is Anthropic's AI coding assistant that works in your terminal and VS Code, helping you build faster with natural language.
### Install Claude Code Extension
1. Open VS Code
2. Click the Extensions icon in the sidebar (or press `Cmd+Shift+X` / `Ctrl+Shift+X`)
3. Search for **"Claude Code"**
1. Find the extension published by **Anthropic** (official)
2. Click **Install**
3. Wait for installation to complete
4. A new ⚡ (Spark) icon will appear in your sidebar
1. Click the ⚡ Spark icon to open Claude Code panel
2. Click **"Sign in with Claude"**
3. Your browser will open for authentication
4. Sign in with your Claude account (Pro, Max, Team, or Enterprise)
5. Return to VS Code - you're ready to code!
### Requirements
**Prerequisites:**
* VS Code version 1.98.0 or newer
* Claude Pro, Max, Team, or Enterprise subscription
* Internet connection for authentication
### Quick Start
Once installed:
1. Open any project folder in VS Code
2. Click the ⚡ Spark icon in the sidebar
3. Type your coding request in natural language
4. Watch Claude Code edit your files in real-time
5. Press `Esc` twice to rewind changes if needed
### Key Features
* **Real-time change visualization** - See edits inline with diffs
* **Checkpoint system** - Auto-saves state before changes
* **Natural language coding** - Describe what you want, Claude builds it
* **Git integration** - Handles commits, branches, and workflows
### Install Claude Code CLI
```bash theme={null}
npm install -g @anthropic-ai/claude-code
```
**Alternative (if npm fails):**
```bash theme={null}
# Using pnpm
pnpm add -g @anthropic-ai/claude-code
# Using yarn
yarn global add @anthropic-ai/claude-code
```
```bash theme={null}
claude --version
```
You should see the Claude Code version number.
Navigate to your project and run:
```bash theme={null}
cd your-project
claude
```
A setup wizard will guide you through:
1. **Sign-in method selection** - Choose "Claude app" (Max subscription) or "Anthropic console" (API billing)
2. **Browser authentication** - Sign in with your Claude credentials
3. **Model selection** - Choose Claude Sonnet 4 or Opus 4
For VS Code integration from terminal:
```bash theme={null}
# Navigate to your project
cd your-awesome-project
# Start Claude Code with VS Code integration
claude
```
Claude will detect VS Code and offer enhanced features like inline diffs.
### Usage Examples
```bash Basic Commands theme={null}
# Start Claude Code
claude
# Specific task
claude "add user authentication to my app"
# Git workflow
claude "review my changes and create a PR"
```
```bash Advanced Commands theme={null}
# Explain code
claude explain app/page.tsx
# Fix bugs
claude "fix the authentication bug in login.ts"
# Refactor
claude "refactor the user model to use TypeScript"
```
### Configuration
Claude Code stores preferences in `~/.claude/config.toml`:
```toml theme={null}
# Example configuration
[preferences]
model = "claude-sonnet-4"
auto_commit = false
diff_style = "unified"
[mcp_servers]
# Add MCP servers here
```
### Troubleshooting Claude Code
**Common with WSL users:**
1. Navigate to your project inside WSL:
```bash theme={null}
cd /path/to/your/project
```
2. Open VS Code from WSL:
```bash theme={null}
code .
```
3. Run Claude Code in the integrated terminal
**Permission issues:**
1. Download the `.vsix` file from [VS Code Marketplace](https://marketplace.visualstudio.com/items?itemName=anthropic.claude-code)
2. In VS Code: View → Extensions
3. Click `...` menu → "Install from VSIX..."
4. Select the downloaded file
**Make sure it's official:**
* Publisher must be **"Anthropic"**
* Avoid knock-off extensions
* Uninstall unofficial versions first
***
## Codex Setup
 OpenAI Codex is an AI coding agent powered by GPT-5, designed for agentic coding and complex software engineering tasks.
### Install Codex Extension
1. Open VS Code
2. Click Extensions icon (or `Cmd+Shift+X` / `Ctrl+Shift+X`)
3. Search for **"Codex – OpenAI's coding agent"**
1. Find the extension published by **OpenAI** (official)
2. Click **Install**
3. A new Codex icon will appear in the top-right activity bar
1. Click the Codex icon to open the panel
2. Click **"Sign in with ChatGPT"**
3. Your browser will open for authentication
4. Log in to your OpenAI account
5. Return to VS Code - you're authenticated!
### Requirements
**Prerequisites:**
* VS Code (latest version recommended)
* ChatGPT Plus, Pro, Team, or Enterprise subscription
* Internet connection
**Platform Support:**
* ✅ macOS - Fully supported
* ✅ Linux - Fully supported
* ⚠️ Windows - Use WSL (Windows Subsystem for Linux) for best experience
### Quick Start
1. Click the Codex icon in the activity bar
2. Type your coding request or question
3. Codex can:
* Read and understand your codebase
* Modify code across multiple files
* Run commands and tests
* Explain complex code
* Debug issues
### Key Features (2025)
* **GPT-5-Codex** - Optimized for agentic coding
* **Read, modify, and run code** - Full development lifecycle
* **Long-running tasks** - Handles complex, multi-step work
* **Real-world engineering focus** - Trained on production workflows
### Install Codex CLI
**Using npm (recommended):**
```bash theme={null}
npm install -g @openai/codex
```
**Using Homebrew (macOS/Linux):**
```bash theme={null}
brew install codex
```
**Using pnpm:**
```bash theme={null}
pnpm add -g @openai/codex
```
```bash theme={null}
codex --version
```
You should see the Codex CLI version.
Run Codex for the first time:
```bash theme={null}
codex
```
1. Select **"Sign in with ChatGPT"**
2. Browser opens for authentication
3. Sign in with OpenAI account (Plus/Pro/Team/Enterprise)
4. Return to terminal - you're ready!
```bash theme={null}
# Start interactive session
codex
# Run specific task
codex "add user authentication"
# Analyze code
codex "explain the auth flow in this project"
# Debug
codex "why is the login page crashing?"
```
### Configuration
Codex stores config in `~/.codex/config.toml`:
```toml theme={null}
# Example configuration
[preferences]
model = "gpt-5-codex"
auto_run = false
verbose = true
[mcp_servers]
# MCP server configuration
# Add your MCP servers here
```
**Edit config:**
```bash theme={null}
# Open config file
codex config edit
# View current config
codex config show
# Reset to defaults
codex config reset
```
### Advanced Usage
```bash Git Integration theme={null}
# Review changes
codex "review my git diff"
# Create commit
codex "write a commit message for my changes"
# Create PR
codex "create a pull request with description"
```
```bash Project Analysis theme={null}
# Understand codebase
codex "explain the project structure"
# Find bugs
codex "find potential security issues"
# Refactor
codex "refactor this using best practices"
```
```bash CI/CD Integration theme={null}
# Run in CI (non-interactive)
codex --non-interactive "run all tests and report results"
# Automated code review
codex review --files="src/**/*.ts"
```
### Supported IDEs
Codex works with:
* ✅ **VS Code** - Native extension
* ✅ **Cursor** - Full support
* ✅ **Windsurf** - Full support
* ✅ **JetBrains IDEs** - Enhanced terminal integration
* ✅ **Any IDE terminal** - Basic CLI functionality
### Platform-Specific Notes
**macOS:**
* Stable and fully supported
* Install via Homebrew or npm
* Works natively without issues
**Linux:**
* Stable and fully supported
* Install via package manager
* No known issues
**Windows:**
* **Experimental support**
* **Recommended:** Use Windows Subsystem for Linux (WSL)
**WSL Setup:**
```bash theme={null}
# Install WSL (PowerShell as Admin)
wsl --install
# Inside WSL, install Codex
npm install -g @openai/codex
# Run in WSL terminal
codex
```
### Troubleshooting Codex
**Use WSL for best experience:**
1. Install WSL:
```powershell theme={null}
# PowerShell as Administrator
wsl --install
```
2. Restart computer
3. Open Ubuntu/WSL terminal
4. Install Codex in WSL:
```bash theme={null}
npm install -g @openai/codex
```
5. Run from WSL terminal or VS Code WSL remote
**Clear auth and retry:**
```bash theme={null}
# Clear stored credentials
codex auth logout
# Sign in again
codex auth login
```
**Check subscription:**
* Requires ChatGPT Plus, Pro, Team, or Enterprise
* Free tier does NOT work with Codex
* Verify at [platform.openai.com](https://platform.openai.com)
**Reset configuration:**
```bash theme={null}
# View current config
codex config show
# Reset to defaults
codex config reset
# Edit manually
codex config edit
```
**Config location:**
* macOS/Linux: `~/.codex/config.toml`
* Windows (WSL): `~/.codex/config.toml`
* Windows (native): `%USERPROFILE%\.codex\config.toml`
***
## Quick Comparison
| Feature | Claude Code | Codex |
| ------------------------- | --------------------------------- | ---------------------------------- |
| **Publisher** | Anthropic | OpenAI |
| **Models** | Claude Sonnet 4, Opus 4 | GPT-5-Codex |
| **VS Code Extension** | ✅ Yes | ✅ Yes |
| **CLI** | ✅ Yes | ✅ Yes |
| **Subscription Required** | Claude Pro/Max/Team/Enterprise | ChatGPT Plus/Pro/Team/Enterprise |
| **Windows Support** | ⚠️ Limited (WSL recommended) | ⚠️ Experimental (WSL recommended) |
| **Real-time Diffs** | ✅ Yes | ✅ Yes |
| **Git Integration** | ✅ Yes | ✅ Yes |
| **MCP Servers** | ✅ Supported | ✅ Supported |
| **Best For** | Fast iterations, pair programming | Long-running tasks, agentic coding |
***
## Recommended Workflow
Install both Claude Code and Codex to get the best of both worlds:
* **Claude Code** for quick iterations and pair programming
* **Codex** for complex, long-running tasks
**Use Claude Code when:**
* Quick feature additions
* Real-time collaboration
* Explaining code
* Simple refactoring
**Use Codex when:**
* Complex architecture changes
* Multi-file refactoring
* Debugging hard issues
* CI/CD integration
Both tools work seamlessly with:
* Next.js, React, Vue
* TypeScript, JavaScript
* Python, Go, Rust
* Supabase, Firebase
* Any modern web framework
***
## Next Steps
Learn advanced AI development workflows
Apply your setup to your first project
Write better prompts for AI coding
Explore our tech stack documentation
**Pro Tip:** Use Claude Code for rapid prototyping and Codex for production-ready code. They complement each other perfectly!
OpenAI Codex is an AI coding agent powered by GPT-5, designed for agentic coding and complex software engineering tasks.
### Install Codex Extension
1. Open VS Code
2. Click Extensions icon (or `Cmd+Shift+X` / `Ctrl+Shift+X`)
3. Search for **"Codex – OpenAI's coding agent"**
1. Find the extension published by **OpenAI** (official)
2. Click **Install**
3. A new Codex icon will appear in the top-right activity bar
1. Click the Codex icon to open the panel
2. Click **"Sign in with ChatGPT"**
3. Your browser will open for authentication
4. Log in to your OpenAI account
5. Return to VS Code - you're authenticated!
### Requirements
**Prerequisites:**
* VS Code (latest version recommended)
* ChatGPT Plus, Pro, Team, or Enterprise subscription
* Internet connection
**Platform Support:**
* ✅ macOS - Fully supported
* ✅ Linux - Fully supported
* ⚠️ Windows - Use WSL (Windows Subsystem for Linux) for best experience
### Quick Start
1. Click the Codex icon in the activity bar
2. Type your coding request or question
3. Codex can:
* Read and understand your codebase
* Modify code across multiple files
* Run commands and tests
* Explain complex code
* Debug issues
### Key Features (2025)
* **GPT-5-Codex** - Optimized for agentic coding
* **Read, modify, and run code** - Full development lifecycle
* **Long-running tasks** - Handles complex, multi-step work
* **Real-world engineering focus** - Trained on production workflows
### Install Codex CLI
**Using npm (recommended):**
```bash theme={null}
npm install -g @openai/codex
```
**Using Homebrew (macOS/Linux):**
```bash theme={null}
brew install codex
```
**Using pnpm:**
```bash theme={null}
pnpm add -g @openai/codex
```
```bash theme={null}
codex --version
```
You should see the Codex CLI version.
Run Codex for the first time:
```bash theme={null}
codex
```
1. Select **"Sign in with ChatGPT"**
2. Browser opens for authentication
3. Sign in with OpenAI account (Plus/Pro/Team/Enterprise)
4. Return to terminal - you're ready!
```bash theme={null}
# Start interactive session
codex
# Run specific task
codex "add user authentication"
# Analyze code
codex "explain the auth flow in this project"
# Debug
codex "why is the login page crashing?"
```
### Configuration
Codex stores config in `~/.codex/config.toml`:
```toml theme={null}
# Example configuration
[preferences]
model = "gpt-5-codex"
auto_run = false
verbose = true
[mcp_servers]
# MCP server configuration
# Add your MCP servers here
```
**Edit config:**
```bash theme={null}
# Open config file
codex config edit
# View current config
codex config show
# Reset to defaults
codex config reset
```
### Advanced Usage
```bash Git Integration theme={null}
# Review changes
codex "review my git diff"
# Create commit
codex "write a commit message for my changes"
# Create PR
codex "create a pull request with description"
```
```bash Project Analysis theme={null}
# Understand codebase
codex "explain the project structure"
# Find bugs
codex "find potential security issues"
# Refactor
codex "refactor this using best practices"
```
```bash CI/CD Integration theme={null}
# Run in CI (non-interactive)
codex --non-interactive "run all tests and report results"
# Automated code review
codex review --files="src/**/*.ts"
```
### Supported IDEs
Codex works with:
* ✅ **VS Code** - Native extension
* ✅ **Cursor** - Full support
* ✅ **Windsurf** - Full support
* ✅ **JetBrains IDEs** - Enhanced terminal integration
* ✅ **Any IDE terminal** - Basic CLI functionality
### Platform-Specific Notes
**macOS:**
* Stable and fully supported
* Install via Homebrew or npm
* Works natively without issues
**Linux:**
* Stable and fully supported
* Install via package manager
* No known issues
**Windows:**
* **Experimental support**
* **Recommended:** Use Windows Subsystem for Linux (WSL)
**WSL Setup:**
```bash theme={null}
# Install WSL (PowerShell as Admin)
wsl --install
# Inside WSL, install Codex
npm install -g @openai/codex
# Run in WSL terminal
codex
```
### Troubleshooting Codex
**Use WSL for best experience:**
1. Install WSL:
```powershell theme={null}
# PowerShell as Administrator
wsl --install
```
2. Restart computer
3. Open Ubuntu/WSL terminal
4. Install Codex in WSL:
```bash theme={null}
npm install -g @openai/codex
```
5. Run from WSL terminal or VS Code WSL remote
**Clear auth and retry:**
```bash theme={null}
# Clear stored credentials
codex auth logout
# Sign in again
codex auth login
```
**Check subscription:**
* Requires ChatGPT Plus, Pro, Team, or Enterprise
* Free tier does NOT work with Codex
* Verify at [platform.openai.com](https://platform.openai.com)
**Reset configuration:**
```bash theme={null}
# View current config
codex config show
# Reset to defaults
codex config reset
# Edit manually
codex config edit
```
**Config location:**
* macOS/Linux: `~/.codex/config.toml`
* Windows (WSL): `~/.codex/config.toml`
* Windows (native): `%USERPROFILE%\.codex\config.toml`
***
## Quick Comparison
| Feature | Claude Code | Codex |
| ------------------------- | --------------------------------- | ---------------------------------- |
| **Publisher** | Anthropic | OpenAI |
| **Models** | Claude Sonnet 4, Opus 4 | GPT-5-Codex |
| **VS Code Extension** | ✅ Yes | ✅ Yes |
| **CLI** | ✅ Yes | ✅ Yes |
| **Subscription Required** | Claude Pro/Max/Team/Enterprise | ChatGPT Plus/Pro/Team/Enterprise |
| **Windows Support** | ⚠️ Limited (WSL recommended) | ⚠️ Experimental (WSL recommended) |
| **Real-time Diffs** | ✅ Yes | ✅ Yes |
| **Git Integration** | ✅ Yes | ✅ Yes |
| **MCP Servers** | ✅ Supported | ✅ Supported |
| **Best For** | Fast iterations, pair programming | Long-running tasks, agentic coding |
***
## Recommended Workflow
Install both Claude Code and Codex to get the best of both worlds:
* **Claude Code** for quick iterations and pair programming
* **Codex** for complex, long-running tasks
**Use Claude Code when:**
* Quick feature additions
* Real-time collaboration
* Explaining code
* Simple refactoring
**Use Codex when:**
* Complex architecture changes
* Multi-file refactoring
* Debugging hard issues
* CI/CD integration
Both tools work seamlessly with:
* Next.js, React, Vue
* TypeScript, JavaScript
* Python, Go, Rust
* Supabase, Firebase
* Any modern web framework
***
## Next Steps
Learn advanced AI development workflows
Apply your setup to your first project
Write better prompts for AI coding
Explore our tech stack documentation
**Pro Tip:** Use Claude Code for rapid prototyping and Codex for production-ready code. They complement each other perfectly!